 HiCapture
How to take screenshots on a Mac
Capture an area, a window or the full screen on your Mac with one shortcut, then add arrows, text and blur in the editor and set it on a background, step by step. You can change any shortcut in Settings.
How do I get started?
HiCapture lives in the menu bar and appears when you press a shortcut. The first time, turn on Screen Recording for HiCapture in System Settings and reopen the app. If you forget a shortcut, press ⌘⇧⌥Q to open the quickslot wheel at your cursor and flick toward the mode you want.
Permission
Turn on Screen Recording in System Settings, then reopen the app.
Quickslot wheel⌘⇧⌥Q
A wheel opens at your cursor. Flick toward a mode and let go to start it.
How do I capture part of the screen?
Press ⌘⇧⌥A and drag over what you want. The moment you let go, the area is captured and copied to your clipboard, ready to paste. Before you let go, hold Space to move the selection, use the arrow keys to nudge it by 1 px, or press esc to cancel.
Drag an area⌘⇧⌥A
Press the shortcut and drag over what you want. Let go to take the shot.
Move and nudgeSpace
Hold Space to move it, nudge it 1 px with the arrow keys.
Cancelesc
Press esc before you let go and nothing is kept.

How do I capture a window or the full screen?
For a single window, press ⌘⇧⌥W, hover over the window and click. Its edges are detected automatically, so you get just that window, cleanly cut out. For the full screen, press ⌘⇧⌥F to capture the whole display under your cursor at once. Both go straight to your clipboard.
Window⌘⇧⌥W
Hover over the window you want and click.
Full screen⌘⇧⌥F
Captures the display under your cursor right away.
How do I capture the same spot again and again?
Press ⌘⇧⌥R to leave a pinned frame on screen. Drag its border or bar to move it and its edges and corners to resize it; every press of ↩ then captures that same spot. The inside stays clear, so you keep using the app underneath. Press esc to close it.
Open the frame⌘⇧⌥R
Drag the border to move it, the edges and corners to resize.
Display · Window · Area
Pick Window and the frame snaps onto it. Shrink it again to capture just part of it.
Capture↩
Every ↩ captures the same spot. Press esc to close.

Can I capture tooltips and menus that disappear?
Yes. With Freeze screen on, the screen stops the moment you press the shortcut, so tooltips that vanish when you move the mouse, open menus and playing videos are captured exactly as you saw them. It's off by default; turn it on from the menu bar menu or in Settings → Capture.
Turn it on
From the menu bar menu or in Settings → Capture.
The pinned area always captures the live screen, whatever this setting is.
Where does my screenshot go?
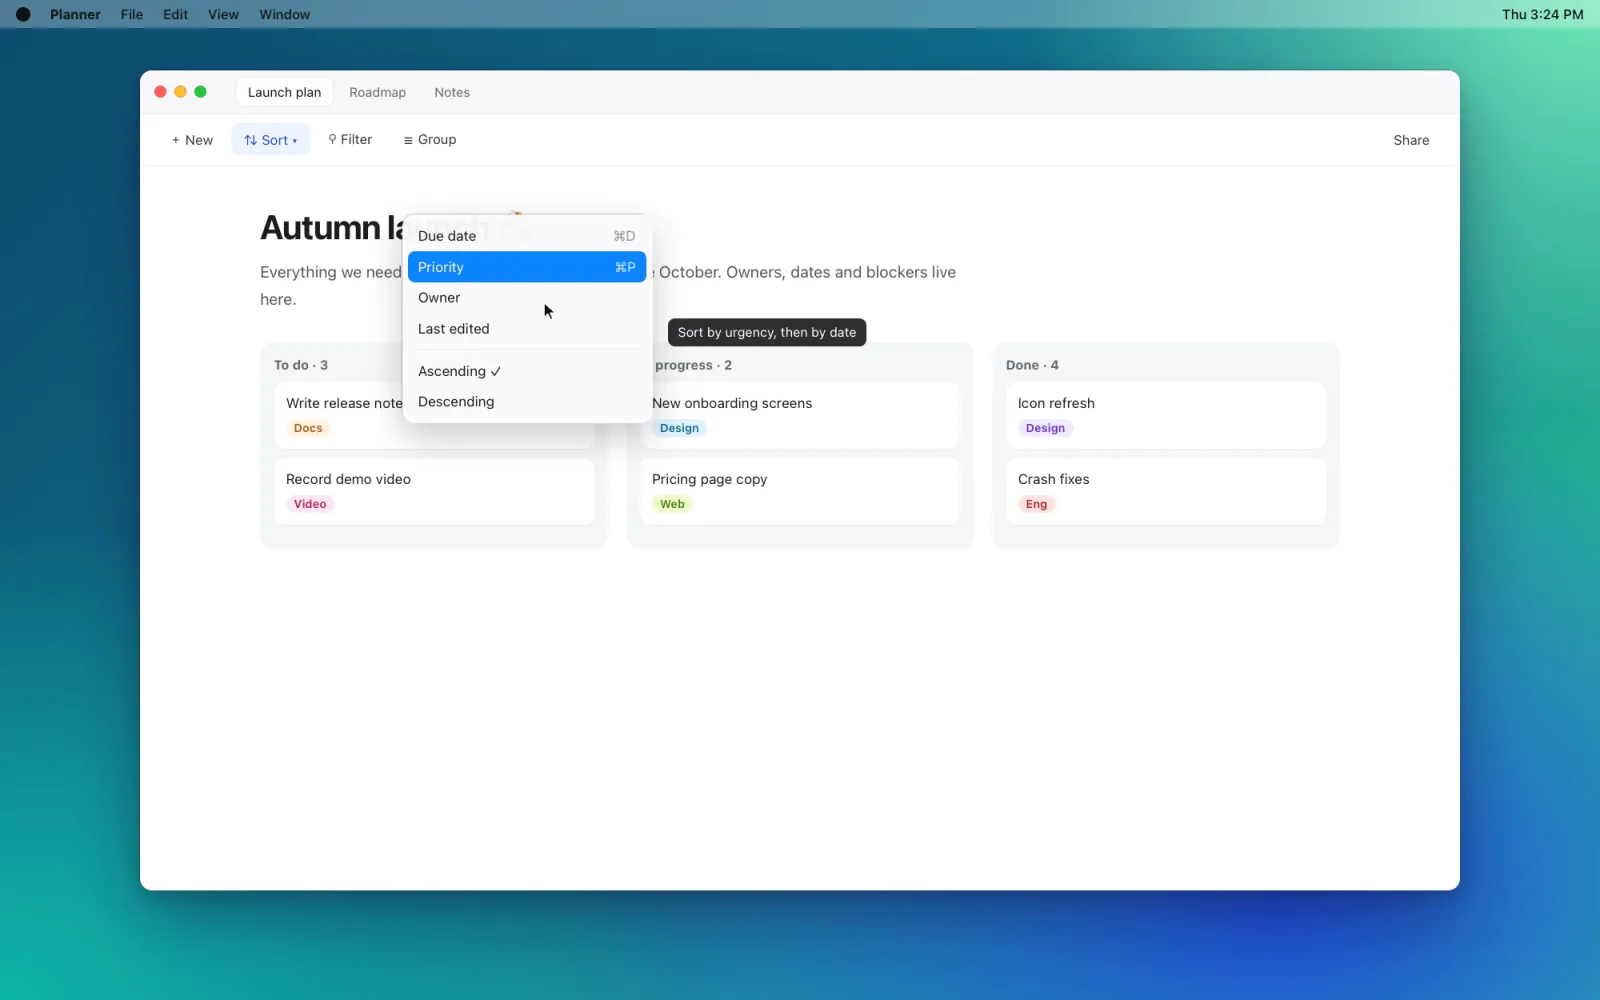
Every capture is copied to your clipboard first, and a preview appears in the bottom right corner. Click the preview to open the capture editor, swipe it away to dismiss it, or drag it into another app or Finder to drop in the file. Whether the preview shows and how long it stays are set in Settings.
Edit or dismiss
Click to edit, swipe to dismiss. Drag it out to drop in the file.
How do I add arrows, text or blur to a screenshot?
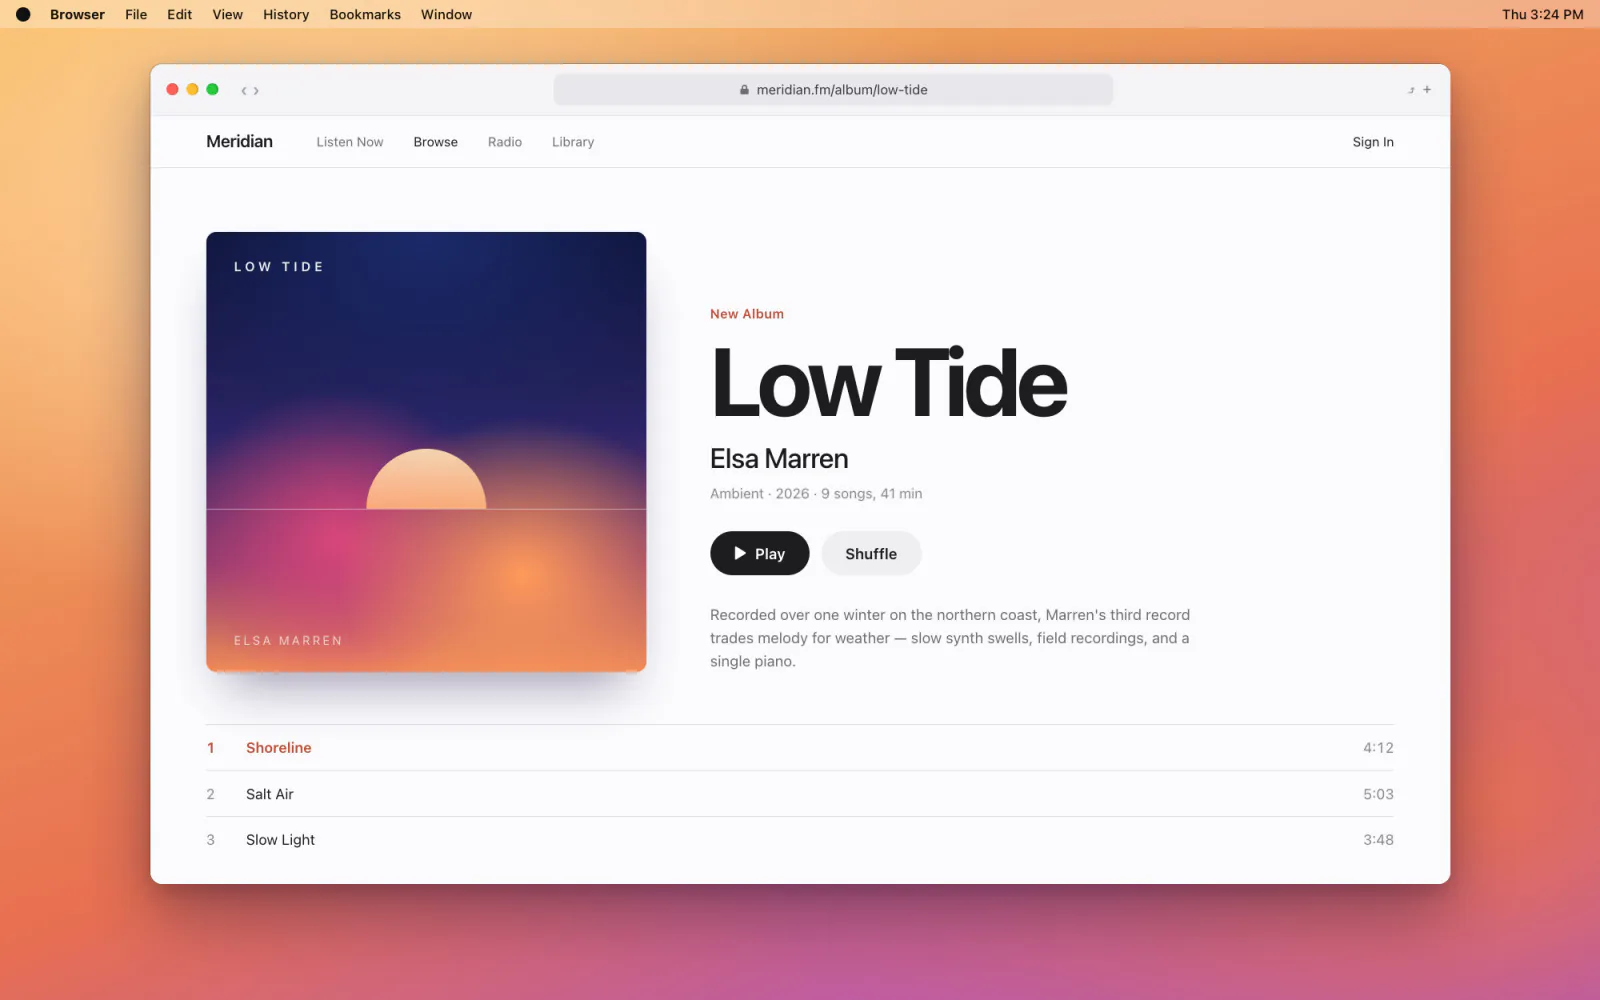
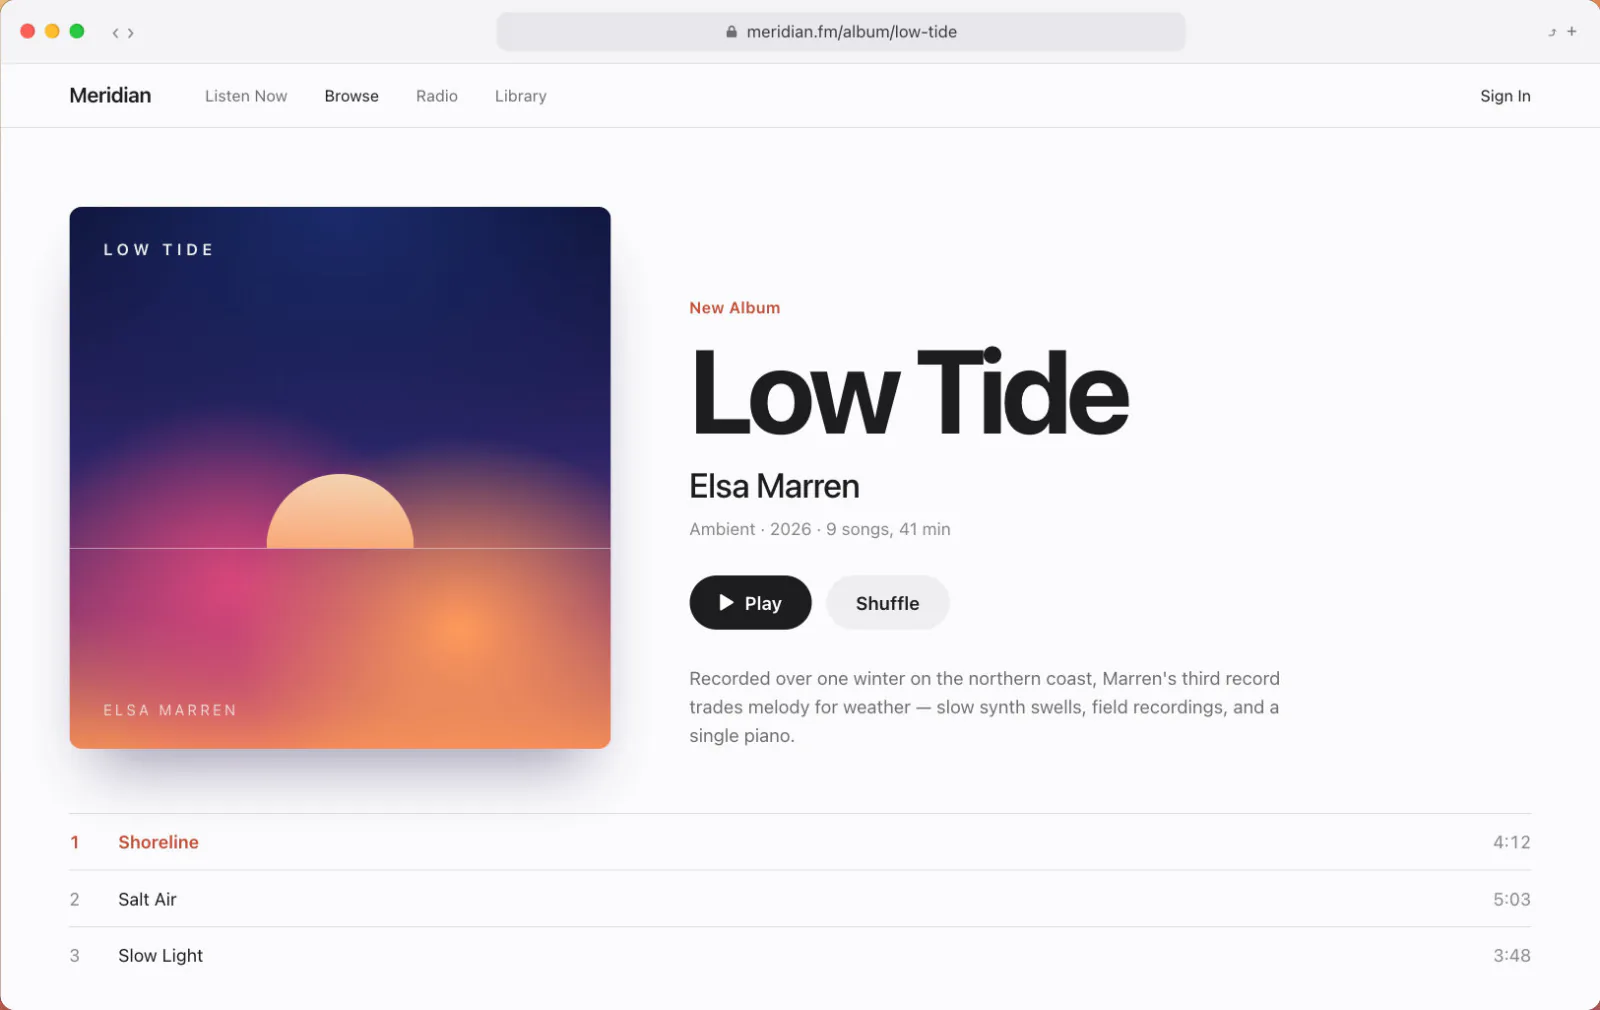
Click the preview to open the capture editor. Switch tools with single-letter shortcuts, such as V select, R rectangle, A arrow, T text, M mosaic and B blur, and mark it up. Press ⌘C to copy the result or ⌘S to save it to your chosen folder; ⇧⌘S lets you pick where to save.
Tools
V select, R rectangle, A arrow, T text. The full list is in the table below.
Copy and save⌘C⌘S
⌘C copies the result and ⌘S saves it.
Images you already have
Open image… on Home opens an empty editor; drop an image into it. Or use Open With → HiCapture in Finder.
Hold ⇧ while drawing to snap lines and arrows to 45° steps and to draw perfect squares and circles.
How do I put a screenshot on a background?
Click the background button at the top right of the editor to open the decoration panel. Choose from 20 wallpapers, gradients, solid colors or your own image, then set padding, rounded corners, shadow, an aspect ratio such as 16:9 or 1:1, and a 3D tilt. Your choices carry over to the next capture.
Background
20 wallpapers, gradients, colors or your image.
Layout
Set padding, corners and shadow, then place it centered, in a corner or tilted in 3D.
How do I copy text or a color code from the screen?
For text, press ⌘⇧⌥T and drag over an area; the text inside is copied to your clipboard in reading order. It works on photos and windows that block copying, and recognition runs entirely on your Mac. For color, press ⌘⇧⌥C and pick a pixel with the magnifier to copy its #RRGGBB code.
Text⌘⇧⌥T
Drag an area to copy the text inside. Text in photos works too.
Color⌘⇧⌥C
Pick a pixel to copy its #RRGGBB code.
How do I draw on the screen during a presentation?
Press ⌘⇧⌥D to draw right on top of whatever is on screen with a pen, highlighter, arrows and shapes, on any display. Press V to click and scroll the apps underneath while your drawing stays put, so your lesson or demo keeps flowing. Press ↩ to capture the screen with the drawing on it.
Draw⌘⇧⌥D
Use the pen, highlighter, arrows, shapes and eraser.
Use the screenV
Press V to use the apps below; the drawing stays.
Capture with the drawing↩
Press ↩ to capture the screen with your drawing on it.

Mac screenshot shortcuts
| ⌘⇧⌥A | Area capture |
|---|---|
| ⌘⇧⌥W | Window capture |
| ⌘⇧⌥F | Full screen capture |
| ⌘⇧⌥R | Pinned area |
| ⌘⇧⌥C | Color picker |
| ⌘⇧⌥T | Text extraction |
| ⌘⇧⌥D | Draw on screen |
| ⌘⇧⌥Q | Quickslot wheel |
| Space | Move the selection |
|---|---|
| ← → ↑ ↓ | Nudge by 1 px |
| esc | Cancel |
| V · C · R · O · A · L | Select · Crop · Rectangle · Ellipse · Arrow · Line |
|---|---|
| P · H · E · T · M · B | Pen · Highlighter · Eraser · Text · Mosaic · Blur |
| ⌘Z · ⌘⇧Z | Undo · Redo |
| ⌘C · ⌘S | Copy · Save |
| ⇧⌘S | Save as… |