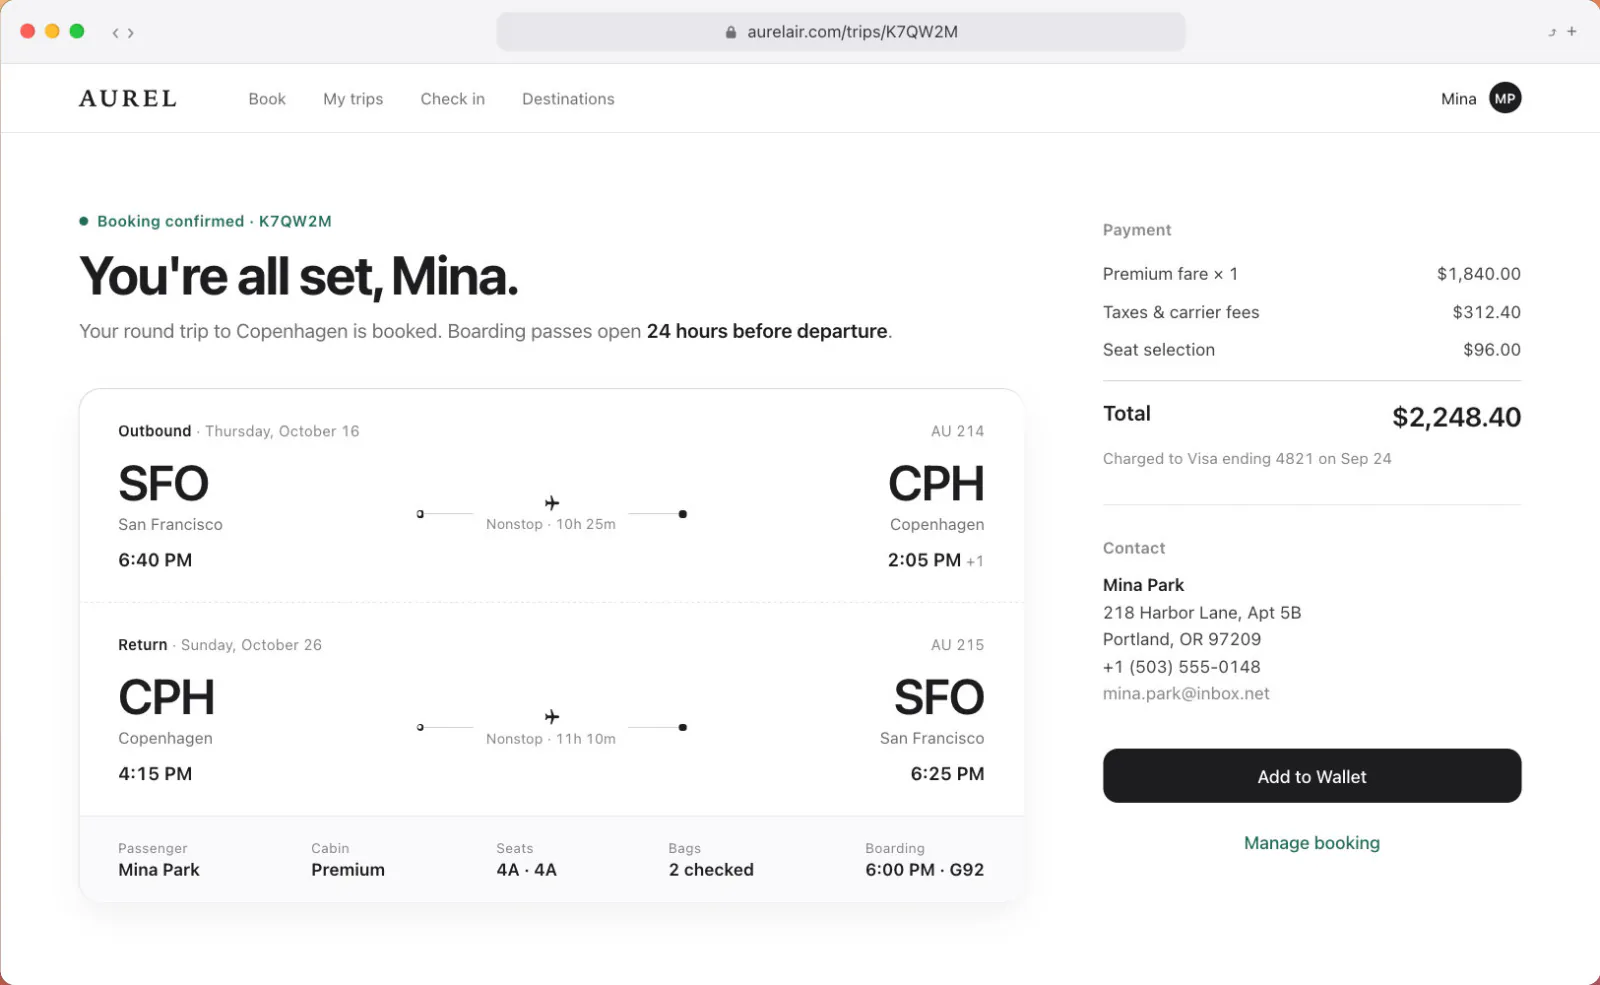
Sending part of the screen to a teammate during a meeting, pasting a broken screen into a bug report, sharing one line of an order: most screenshots are taken to be sent right away.
Doing that with the built-in Mac capture takes more steps than it should. Here is what gets in the way, and how HiCapture lets you use a capture the moment you take it.
What makes the built-in Mac capture tedious?
A Mac has two shortcuts for capturing an area. You have to decide before you shoot whether you want a file or something to paste, and press the matching one.
| Shortcut | Result | Then |
|---|---|---|
| ⇧⌘4 | Saved as a file on the Desktop | Find the file, then drag or attach it |
| ⌃⇧⌘4 | Copied to the clipboard | Ready to paste, but no file is kept |
- Capture with the familiar ⇧⌘4 and screenshot files named with the date and time pile up on your Desktop. Every time you send one, you have to find it.
- To paste right away you have to add Control, and if you forget, you take the shot again.
- You can switch the save location to Clipboard under Options in ⇧⌘5, but then no file is kept. You only get one or the other.
- To add an arrow or hide something, you edit it in Markup or another app, then copy or save it again.
HiCapture does both with one capture
The moment you capture, HiCapture copies it to the clipboard and saves the same capture as a file. There is nothing to choose before you shoot.
Grab only what you need⌘⇧⌥A
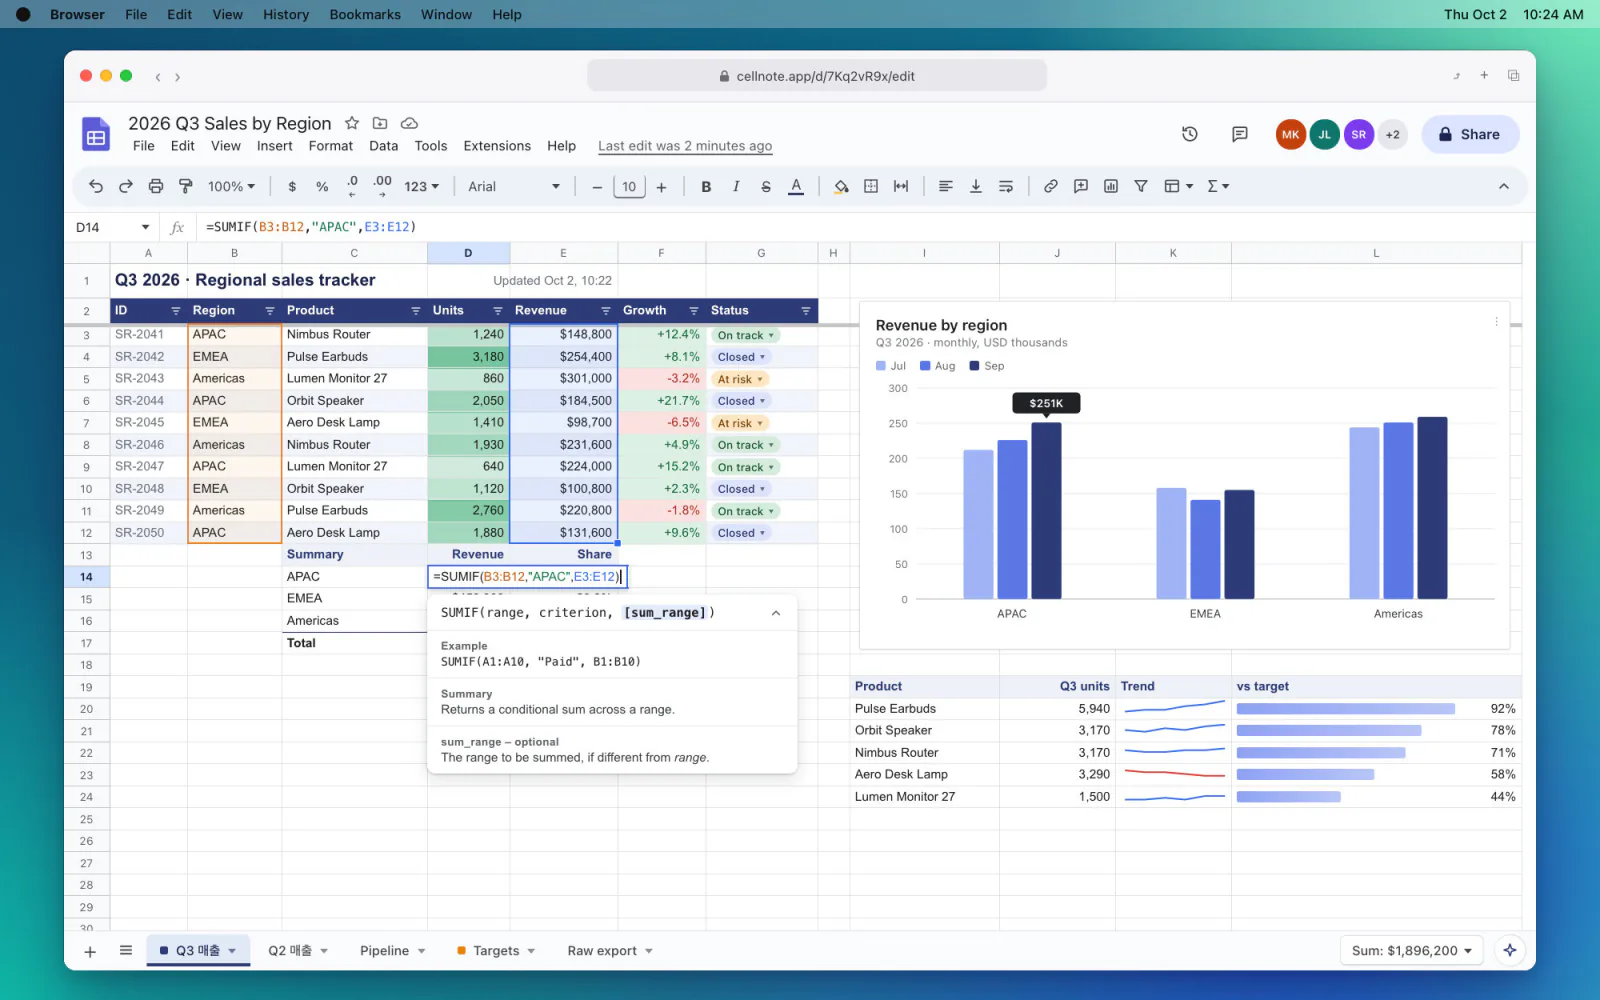
Press the shortcut and drag over the part to send. It is captured the moment you let go.
Paste right away⌘V
Paste into a chat, an email or a document and it drops straight in.
The file is there too
The same capture is saved as a PNG in the HiCapture folder inside Pictures. You can also drag the preview in the bottom right corner into another app or Finder to drop in the file.
Turn file saving on or off with “Auto-save to file” in Settings → Capture. The folder, format (PNG, JPEG or WebP) and quality are in Settings → General.
How do I mark it up or hide something before sending?
Click the preview in the bottom right corner to open the capture editor. Switch tools with single-letter shortcuts, then press ⌘C to copy the result and paste it.
- Point at what matters with the A arrow.
- Cover names, phone numbers and other personal details with M mosaic or B blur.
- Number the steps with the N number stamp.
- Press ⌘S to save it as a file in your chosen folder.
Want to keep using ⇧⌘4?
You can turn off the built-in screenshot shortcuts and move HiCapture to ⇧⌘3, ⇧⌘4 and ⇧⌘5. Then a single ⇧⌘4 copies to the clipboard and saves a file. The recommended shortcuts guide shows how.
Side by side
| Built-in Mac capture | HiCapture | |
|---|---|---|
| Right after capturing | A file or the clipboard | Both the clipboard and a file |
| Area capture shortcut | ⇧⌘4 for a file · ⌃⇧⌘4 for the clipboard | Just ⌘⇧⌥A (can be changed to ⇧⌘4) |
| Where files go | Desktop | Pictures › HiCapture (can be changed) |
| Mark up and hide | Markup | Capture editor (arrows, mosaic, blur, number stamps) |
Frequently asked questions
Can I stop captures from being saved as files?
Yes. Turn off “Auto-save to file” in Settings → Capture and captures only go to the clipboard. A capture always goes to the clipboard first.
Where are the files saved?
By default, as PNGs in the HiCapture folder inside Pictures. You can change the folder, format (PNG, JPEG or WebP) and quality in Settings → General.
Is HiCapture free?
Capturing and the capture editor are free. Only scrolling capture, screen recording and the video editor are Pro, a one-time payment of $14.99.
Which Macs does it run on?
Apple Silicon and Intel Macs with macOS 14 or later.